 Video
Dot to Logo Reveal


 Dot that folds into your logo, as MP4
Claude CodeCodexCursor Gemini CLI
 GitHub Copilot
 OpenCode
A divider slides across a photo, showing the original on one side and the graded version on the other.
$9.99once, yours to keep
Payments are non-refundable. See our Terms of service.
Yours. Download it, then add it to your agent.
A photo is split by a sliding divider; one side shows the original, the other the graded or edited version, with labels. A 4 to 10 second clip in 16:9, 9:16, 1:1 or 4:5, as an MP4 on its own or as one scene of a longer launch film. Renders locally with Chrome and ffmpeg: no video model, no key and no cost. Use when a photo or video editor, colour grade or enhancement tool wants a before and after.
By RecaplyUpdated 11 Nov
Video
Dot that folds into your logo, as MP4
 Video1 view, 0 downloads
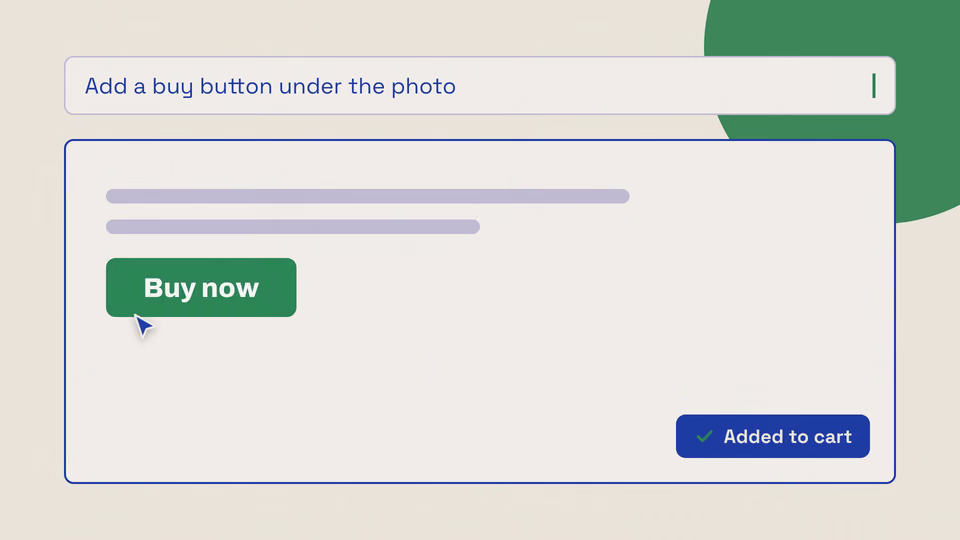
Typed ask that builds a button
 Video
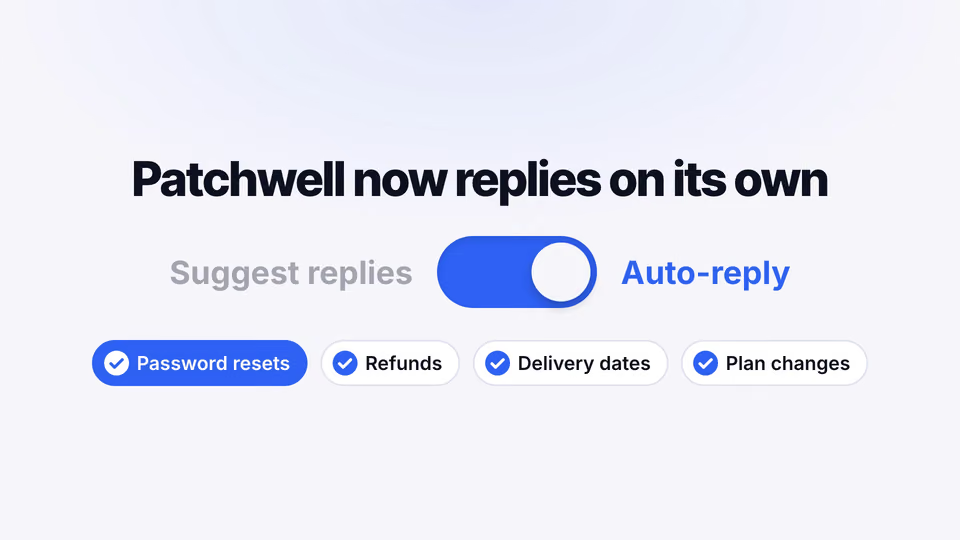
Switch from ask-first to full auto
 Video
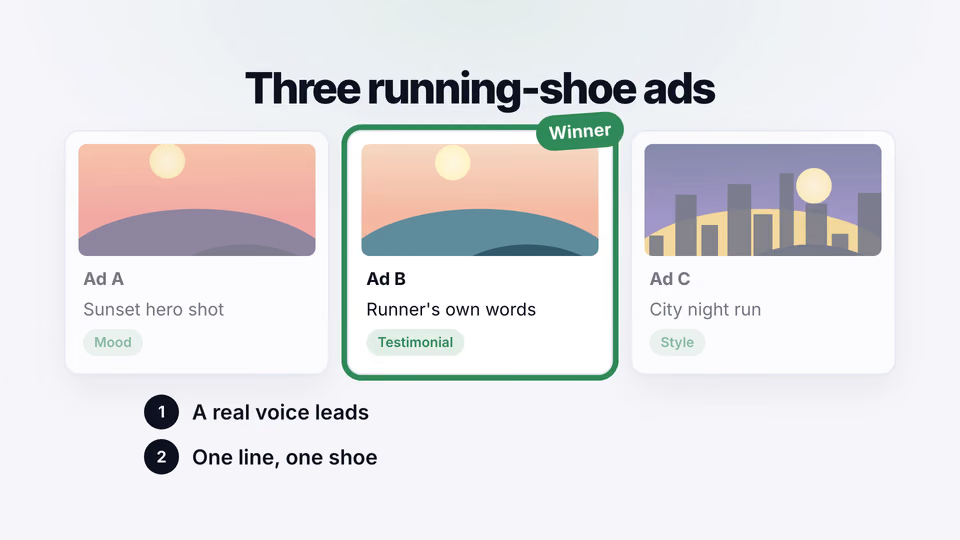
Ads scanned, ranked and remade
You say
Split a beach photo: "Original" and "Graded" with a vivid grade.
It said back
I made the split clip. A divider sweeps across the photo and settles in the middle, with "Original" on the left and "Graded" on the right. The check frame had no layout warnings, and both labels are readable and uncut.
launch-scene/grading-split.mp4, 4.9 s, 1920×1080 (16:9), 30 fps, 152 KB.photos/1-sea.jpg, the sunset over the sea. I picked it as the closest thing to a beach in the folder. It's the only horizon-and-sun shot, and 5-dunes.jpg may be desert, though I didn't open it. If you meant a different photo, tell me and I'll re-render.vivid, which gives a more saturated orange sky and a deeper blue sea.swiss, with a plain off-white background and a red square. You didn't name a style or brand colour, so I used the default accent.logo.svg was meant for this.What it did in run 1
No. Before and After Grade Split costs $9.99 once and stays in your Recaply account, or it comes with the Recaply plan ($19.99 a month), which opens every premium skill and prompt.
Claude Code, Codex, Cursor, Gemini CLI, GitHub Copilot and OpenCode.
A ZIP of the whole skill folder (60 KB): the SKILL.md your agent follows and its 12 other files, the references, templates and scripts it uses. You download it from this page whenever you need it, and install it in Claude Code, Codex, Cursor, Gemini CLI, GitHub Copilot and OpenCode. The Recaply plan opens it too, with every other premium skill and prompt.
Buy it, then download the ZIP from this page. For Claude Code, unzip it into .claude/skills/ in your project. For Codex, Cursor and Gemini CLI, unzip it and run npx skills add ./grading-split-scene with your agent's flag.
An MP4 scene at 16:9, 9:16, 1:1 or 4:5. A photo is split by a sliding divider; one side shows the original, the other the graded or edited version, with labels. Works alone or as one scene in a longer film.
Node 22+, Chrome and ffmpeg, and no API key. Each use costs nothing beyond your agent.
13 files, about 40,716 tokens in all. The SKILL.md is about 1,706 tokens, and your agent reads it only when the job fits.
Our 1 runs took 34 s to 34 s and $0.10 to $0.10 of API use each, in Claude Code with claude-sonnet-5-5. On a Claude plan, a run counts toward your usage instead.
Type /grading-split-scene first to make sure it loads. Without it, Claude Code may judge a small job simple enough to do without the skill.